WSL2 Dev Environment Setup Notes
WSL2 Basics
Install a WSL distribution:
wsl --install Ubuntu-24.04
Remove a WSL distribution:
wsl --unregister Ubuntu-24.04
Common commands:
wsl --list          # List installed distributions
wsl -s Ubuntu-24.04 # Set as default
After installing WSL on Windows, pick your preferred Linux distribution. Install the WSL extension in VSCode for remote connection.
Build Tools
sudo apt install build-essential
GUI Support (Optional)
WSL2 now includes WSLg out of the box — GUI apps work without extra setup:
sudo apt update
sudo apt install ubuntu-desktop
nautilus .          # Test file manager
gnome-terminal .    # Test native terminal
Run firefox to open the browser, nautilus for the file manager, gnome-terminal for a native Linux terminal. Adjust background color and font size in gnome-terminal under Edit → Preferences.
CUDA Setup
No need to install GPU drivers inside WSL2 — it uses the Windows driver directly.
nvidia-smi
The top-left corner shows the highest supported CUDA version. If the version is too low, update your GPU driver in Windows first.

Install CUDA Toolkit
Go to the NVIDIA CUDA download page, select WSL-Ubuntu, and run the provided commands:
wget https://developer.download.nvidia.com/compute/cuda/repos/wsl-ubuntu/x86_64/cuda-keyring_1.1-1_all.deb
sudo dpkg -i cuda-keyring_1.1-1_all.deb
sudo apt-get update
sudo apt-get -y install cuda-toolkit-13-0
Environment Variables
sudo vim ~/.bashrc
Press i to edit, append:
export LD_LIBRARY_PATH=$LD_LIBRARY_PATH:/usr/local/cuda-13.0/lib64
export PATH=$PATH:/usr/local/cuda-13.0/bin
export CUDA_HOME=$CUDA_HOME:/usr/local/cuda-13.0
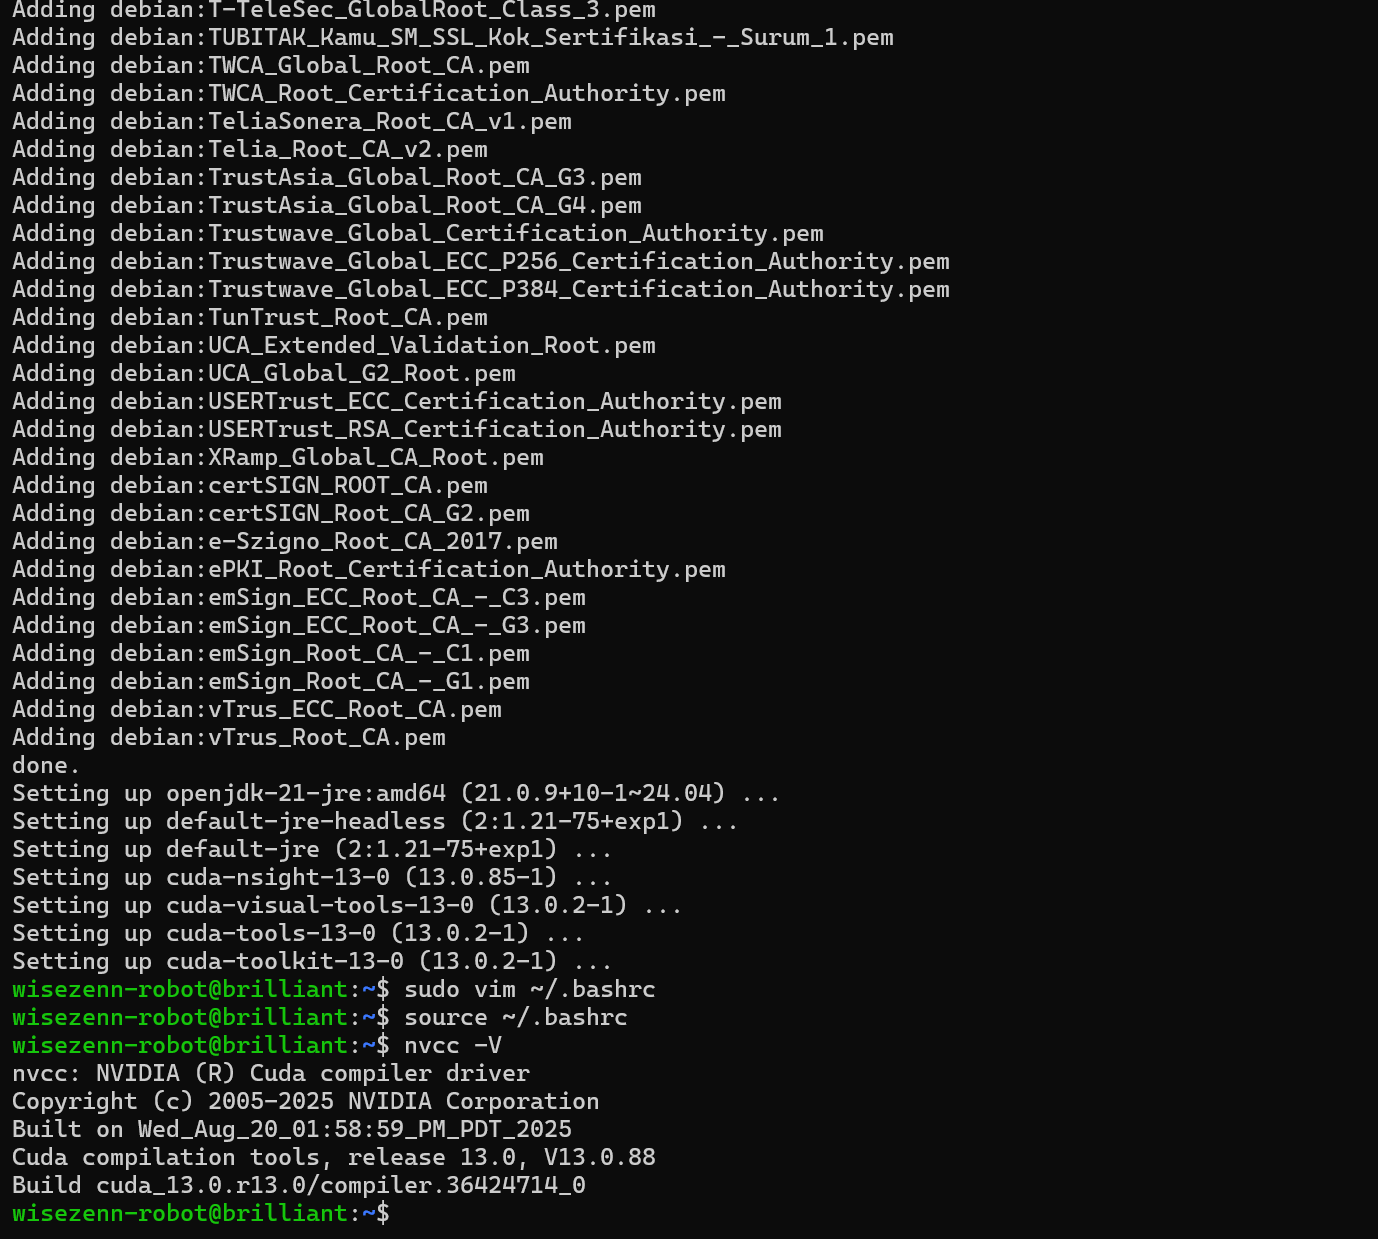
Press Esc, then :wq to save. Run source ~/.bashrc and verify:
nvcc -V
Install cuDNN
cuDNN download page — make sure to pick the version matching your CUDA:
wget https://developer.download.nvidia.com/compute/cudnn/9.16.0/local_installers/cudnn-local-repo-ubuntu2404-9.16.0_1.0-1_amd64.deb
sudo dpkg -i cudnn-local-repo-ubuntu2404-9.16.0_1.0-1_amd64.deb
sudo cp /var/cudnn-local-repo-ubuntu2404-9.16.0/cudnn-*-keyring.gpg /usr/share/keyrings/
sudo apt-get update
sudo apt-get -y install cudnn9-cuda-13
Verify:
ls /usr/lib/x86_64-linux-gnu/libcudnn*
Install Miniconda
wget -P /tmp https://repo.anaconda.com/miniconda/Miniconda3-latest-Linux-x86_64.sh
bash /tmp/Miniconda3-latest-Linux-x86_64.sh
Create a virtual environment:
conda create -n testenv python=3.12
conda activate testenv
Install PyTorch
Head to the PyTorch website for the right install command for your setup:
pip3 install torch torchvision --index-url https://download.pytorch.org/whl/cu130
VPN / Proxy
Add or modify the following in %USERPROFILE%\.wslconfig (create it if it doesn’t exist):
[wsl2]
networkingMode=mirrored      # Mirror mode (recommended)
dnsTunneling=true            # DNS tunnel, fixes some network issues
firewall=true                # Enable firewall integration
autoProxy=true               # Auto-sync Windows proxy settings
If you switch to mirrored mode, localhostForwarding no longer applies — remove it, or you’ll see this warning at startup:
wsl: The wsl2.localhostForwarding setting is not used when the mirrored network mode is enabled.

In Clash, enable TUN mode and set TUN Stack to System:

Test:
wget www.google.com

Install ROS2
Based on the ROS2 Jazzy official docs.
Configure Repository
sudo apt install software-properties-common
sudo add-apt-repository universe
The ros2-apt-source package configures the ROS2 repository. When a new version is released to the ROS repo, the configuration updates automatically.
sudo apt update && sudo apt install curl -y
export ROS_APT_SOURCE_VERSION=$(curl -s https://api.github.com/repos/ros-infrastructure/ros-apt-source/releases/latest | grep -F "tag_name" | awk -F\" '{print $4}')
curl -L -o /tmp/ros2-apt-source.deb "https://github.com/ros-infrastructure/ros-apt-source/releases/download/${ROS_APT_SOURCE_VERSION}/ros2-apt-source_${ROS_APT_SOURCE_VERSION}.$(. /etc/os-release && echo ${UBUNTU_CODENAME:-${VERSION_CODENAME}})_all.deb"
sudo dpkg -i /tmp/ros2-apt-source.deb
Install Dev Tools
sudo apt update && sudo apt install ros-dev-tools
Install ROS2
Desktop install (recommended): includes ROS, RViz, demos, tutorials:
sudo apt upgrade
sudo apt install ros-jazzy-desktop
ROS-Base install (minimal): communication libraries, message packages, CLI tools only — no GUI:
sudo apt install ros-jazzy-ros-base
Test
Each new shell needs this first:
source /opt/ros/jazzy/setup.bash
Terminal 1:
source /opt/ros/jazzy/setup.bash
ros2 run demo_nodes_cpp talker
Terminal 2:
source /opt/ros/jazzy/setup.bash
ros2 run demo_nodes_py listener
If the listener receives messages from the talker, ROS2 is working.
Uninstall
sudo apt remove ~nros-jazzy-* && sudo apt autoremove
sudo apt remove ros2-apt-source
sudo apt update
sudo apt autoremove
sudo apt upgrade
References
Enjoy Reading This Article?
Here are some more articles you might like to read next: