Windows Dev Environment and Version Control
Setting up a dev environment has two failure modes: install nothing, or follow the first tutorial you find and install everything. The first leaves you fighting missing commands. The second leaves you with a pile of tools and no idea what each one does.
This post covers the minimum toolchain for running agents on Windows, plus Git and GitHub for version control. The goal is simple: enough to work, easy to verify, easy to maintain.
| Tool | Purpose | Recommendation |
|---|---|---|
| Node.js / npm | Runs many AI CLI tools | Required |
| PowerToys | GUI for environment variables | Strongly recommended |
| Windows Terminal | A better terminal | Recommended |
| Git | Version control | Required |
| GitHub CLI | Lets agents work with GitHub | Recommended |
| PowerShell 7 | Better encoding compatibility | Recommended |
| VS Code | Editor and remote development | As needed |
| WSL | Linux on Windows | As needed |
Node.js
Node.js is a free, cross-platform JavaScript runtime. It has nothing directly to do with agents, but many AI CLI tools are distributed through npm, so installing it first saves trouble later.
Download the Windows installer from nodejs.org. You do not need to check Automatically install the necessary tools; that installs a pile of build tools that most agent workflows don’t need.
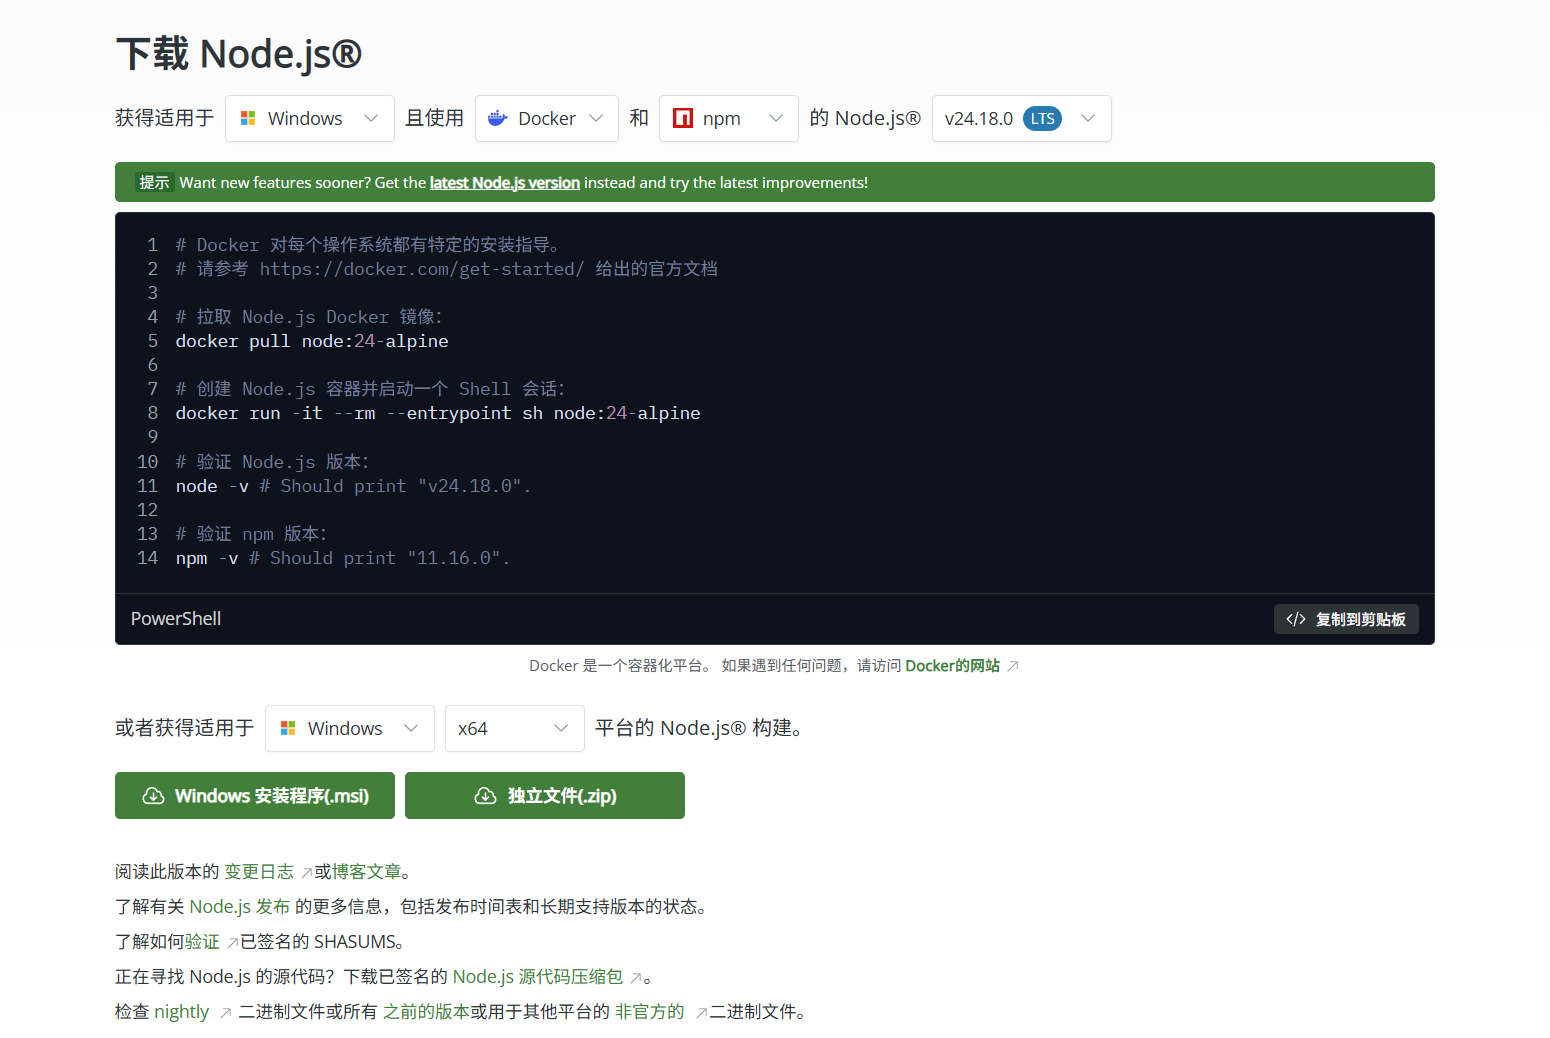
Verify the install:
node -v
npm -v
If both print a version, you’re done. If the command is not recognized, PATH is usually the problem. PowerToys can help with that.
PowerToys and PATH
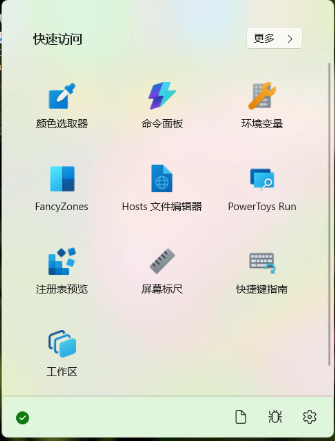
PowerToys is a collection of small Windows utilities from Microsoft. It starts with Windows; open the tray icon to see the panel. I mainly use the Environment Variables tool.
Many installers do not add their executables to PATH, so the terminal cannot find the command. Instead of digging through System Settings, edit user and system variables directly in PowerToys:
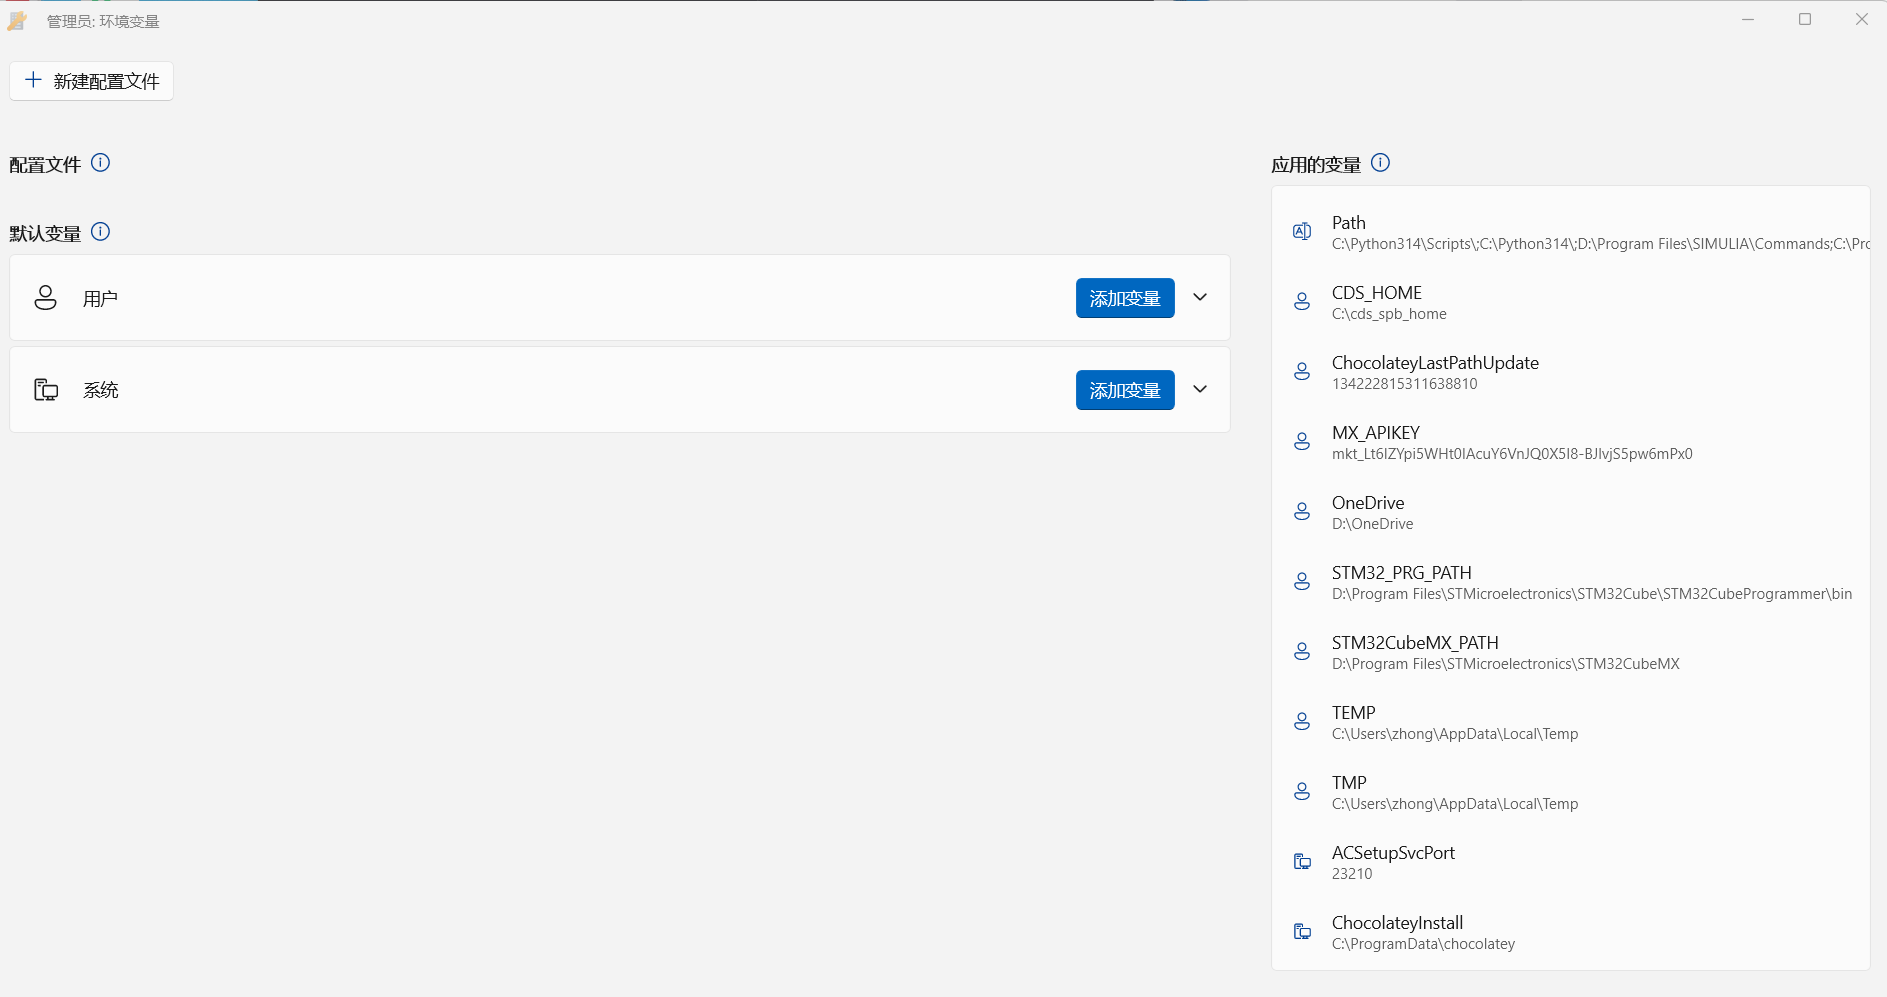
- Open PowerToys and choose Environment Variables.
- Find
Pathunder User Variables and click Edit. - Add a new row with the directory containing the executable.
- Save and restart the terminal.
A common example: after installing Claude Code, it warns that ~/.local/bin is not on PATH. Add that directory and the terminal will recognize the claude command.
Terminal
The built-in Windows terminal works, but tabs, fonts, colors, and configuration are not great. Windows Terminal is available in the Microsoft Store. Install it and set PowerShell 7 as the default profile.
For installing PowerShell 7 and configuring UTF-8, see Microsoft’s guide: Installing PowerShell on Windows. No need to repeat it here.
The short version: PowerShell 7 handles UTF-8 better and is more stable with agent tools like Codex than the 5.1 version that ships with Windows. pwsh opens 7.x; powershell still opens 5.x. Both can coexist.
Git
An agent may touch a dozen files in one pass. Recovering from a bad change by memory is not realistic. That is what Git is for: every change is recorded, and you can compare, revert, or branch at any time.
Download the installer from git-scm.com. A few options matter:
- Default editor: Vim is unfriendly for beginners; switch to VS Code (not the Insiders build).
-
Initial branch name: choose custom and enter
main; most new repositories usemainnow. - PATH: choose the recommended option so Git works from the terminal.
- Line endings: choose the first option to avoid strange line-ending errors on commit.
- Credential manager: choose Git Credential Manager. It stores credentials securely after the first login, so you don’t retype them on every push.
Verify:
git --version
Git basics
You only need four concepts at the start:
- Repository: a project folder whose file changes Git tracks.
- Commit: a labeled snapshot of the current state.
- Branch: an independent line of development off the main line.
- Merge: bring a branch’s changes back into the main line.
The most important habit: when starting a feature or an experiment, create a branch instead of editing main directly.
Changes on a branch are isolated. You can iterate and test there, then merge when it works. If the experiment fails, discard the branch; main stays clean. The history stays readable, and it is much easier to find which change introduced a problem.
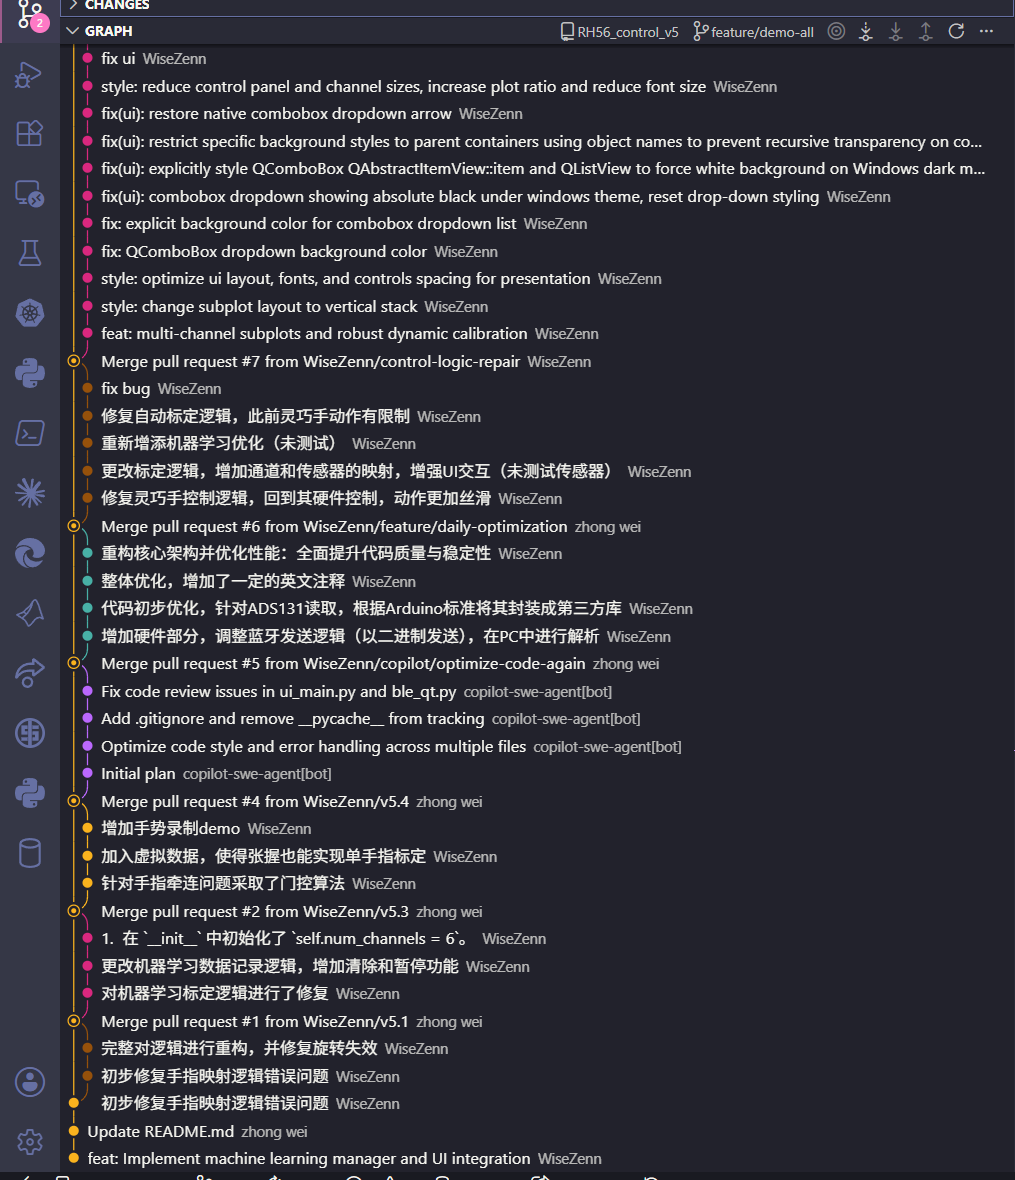
You don’t need to memorize git commit, git push, or git merge. Describe the task and let the agent run them. But you should know which branch you’re on, where the change should be committed, and whether it has been tested before merging.
Relative paths
This is not specific to Git, but it is one of the easiest project-management traps.
When writing code or Markdown, reference external files with relative paths:
./assets/image.png
Not:
D:\Candy\Agent\assets\image.png
An absolute path pins the file to one machine and one location. Move the project folder or switch computers and it breaks. A relative path only cares where the file is relative to the project. Move the whole folder, zip it, or send it to someone else, and it still works.
Typora image paths are a classic example. If you paste an image before saving the document, Typora may store it in a default directory on the C drive and write an absolute path. It looks fine until you reinstall Windows or switch machines, and then every image is broken. The setup steps are in Typora and Markdown: A Writing Setup. The rule to remember: save the document first, then insert the image, and use ./assets/.
GitHub
GitHub is the largest open-source community. For an agent workflow it has at least three uses:
- Reference implementations: many tasks don’t need to start from zero. Find a similar project and let the agent adapt it.
- Managing your own code: public repos for showing work, private repos for yourself.
- A collaboration and delivery surface: issues, PRs, releases, and Actions all live around the repository.
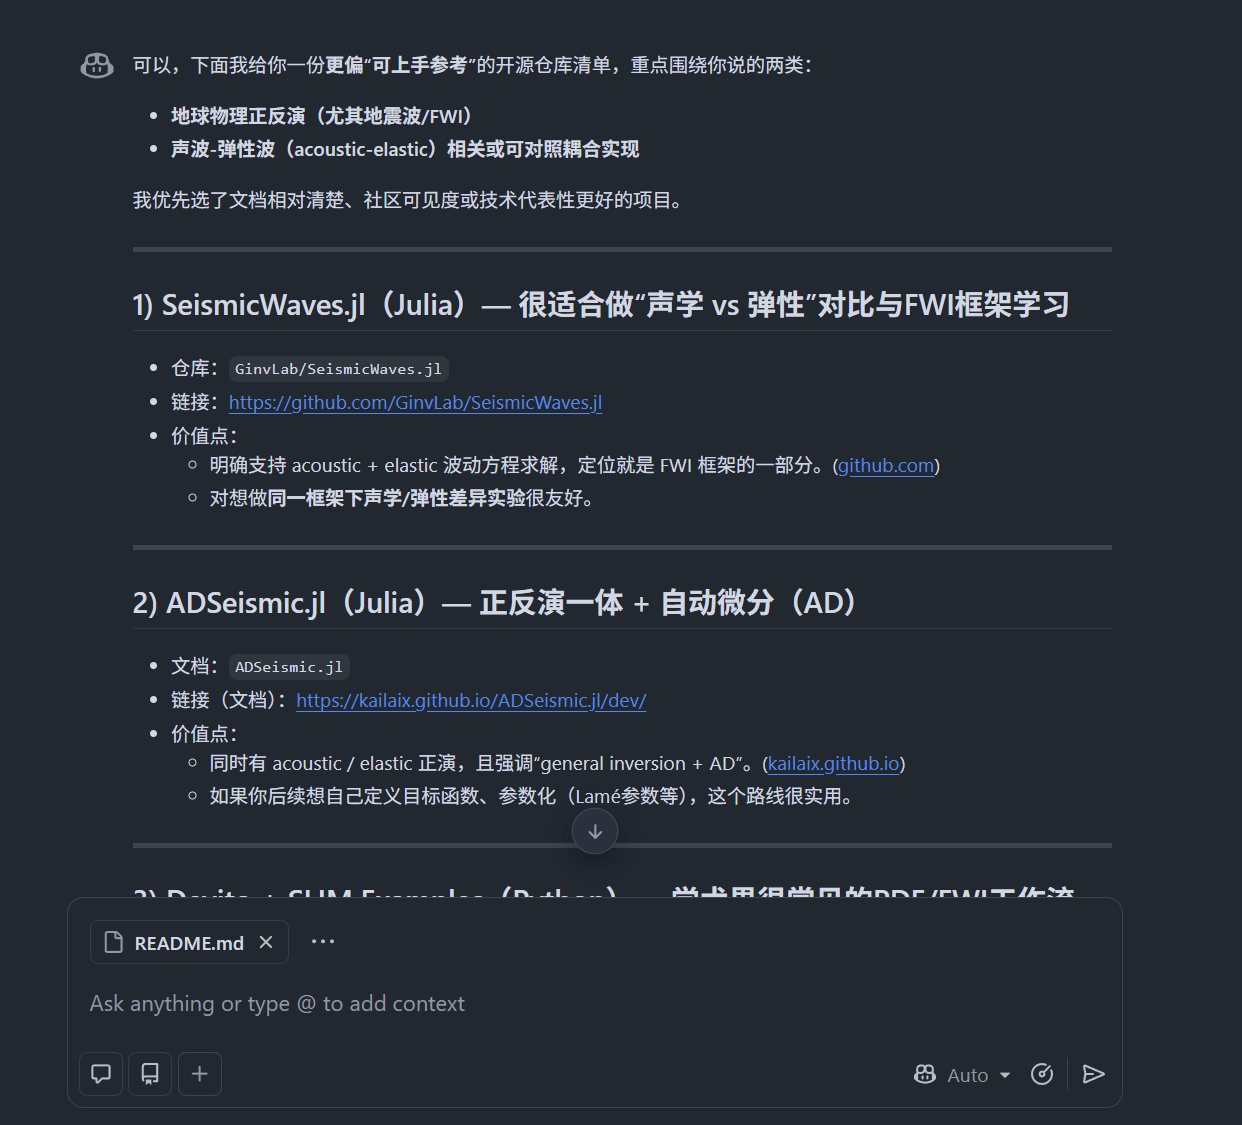
To find a reference project, search by keyword or let the agent use GitHub CLI. Once you find a good repository, don’t ask the agent to rewrite it immediately. Have it read the README, directory structure, and core files first, explain how the project is organized, and then decide where to start.
If you don’t want to publish your project, use a private repository. Private repos still get version control, and only you can see them.
One warning: never put API keys, passwords, or personal data in a repository. Even in a private repo, use environment variables or a local config file, and add sensitive files to .gitignore. Public repos are riskier: once pushed, even a later deletion may leave cached copies or forks.
Code and Releases
Open a repository and click the green Code button. There are two common options:
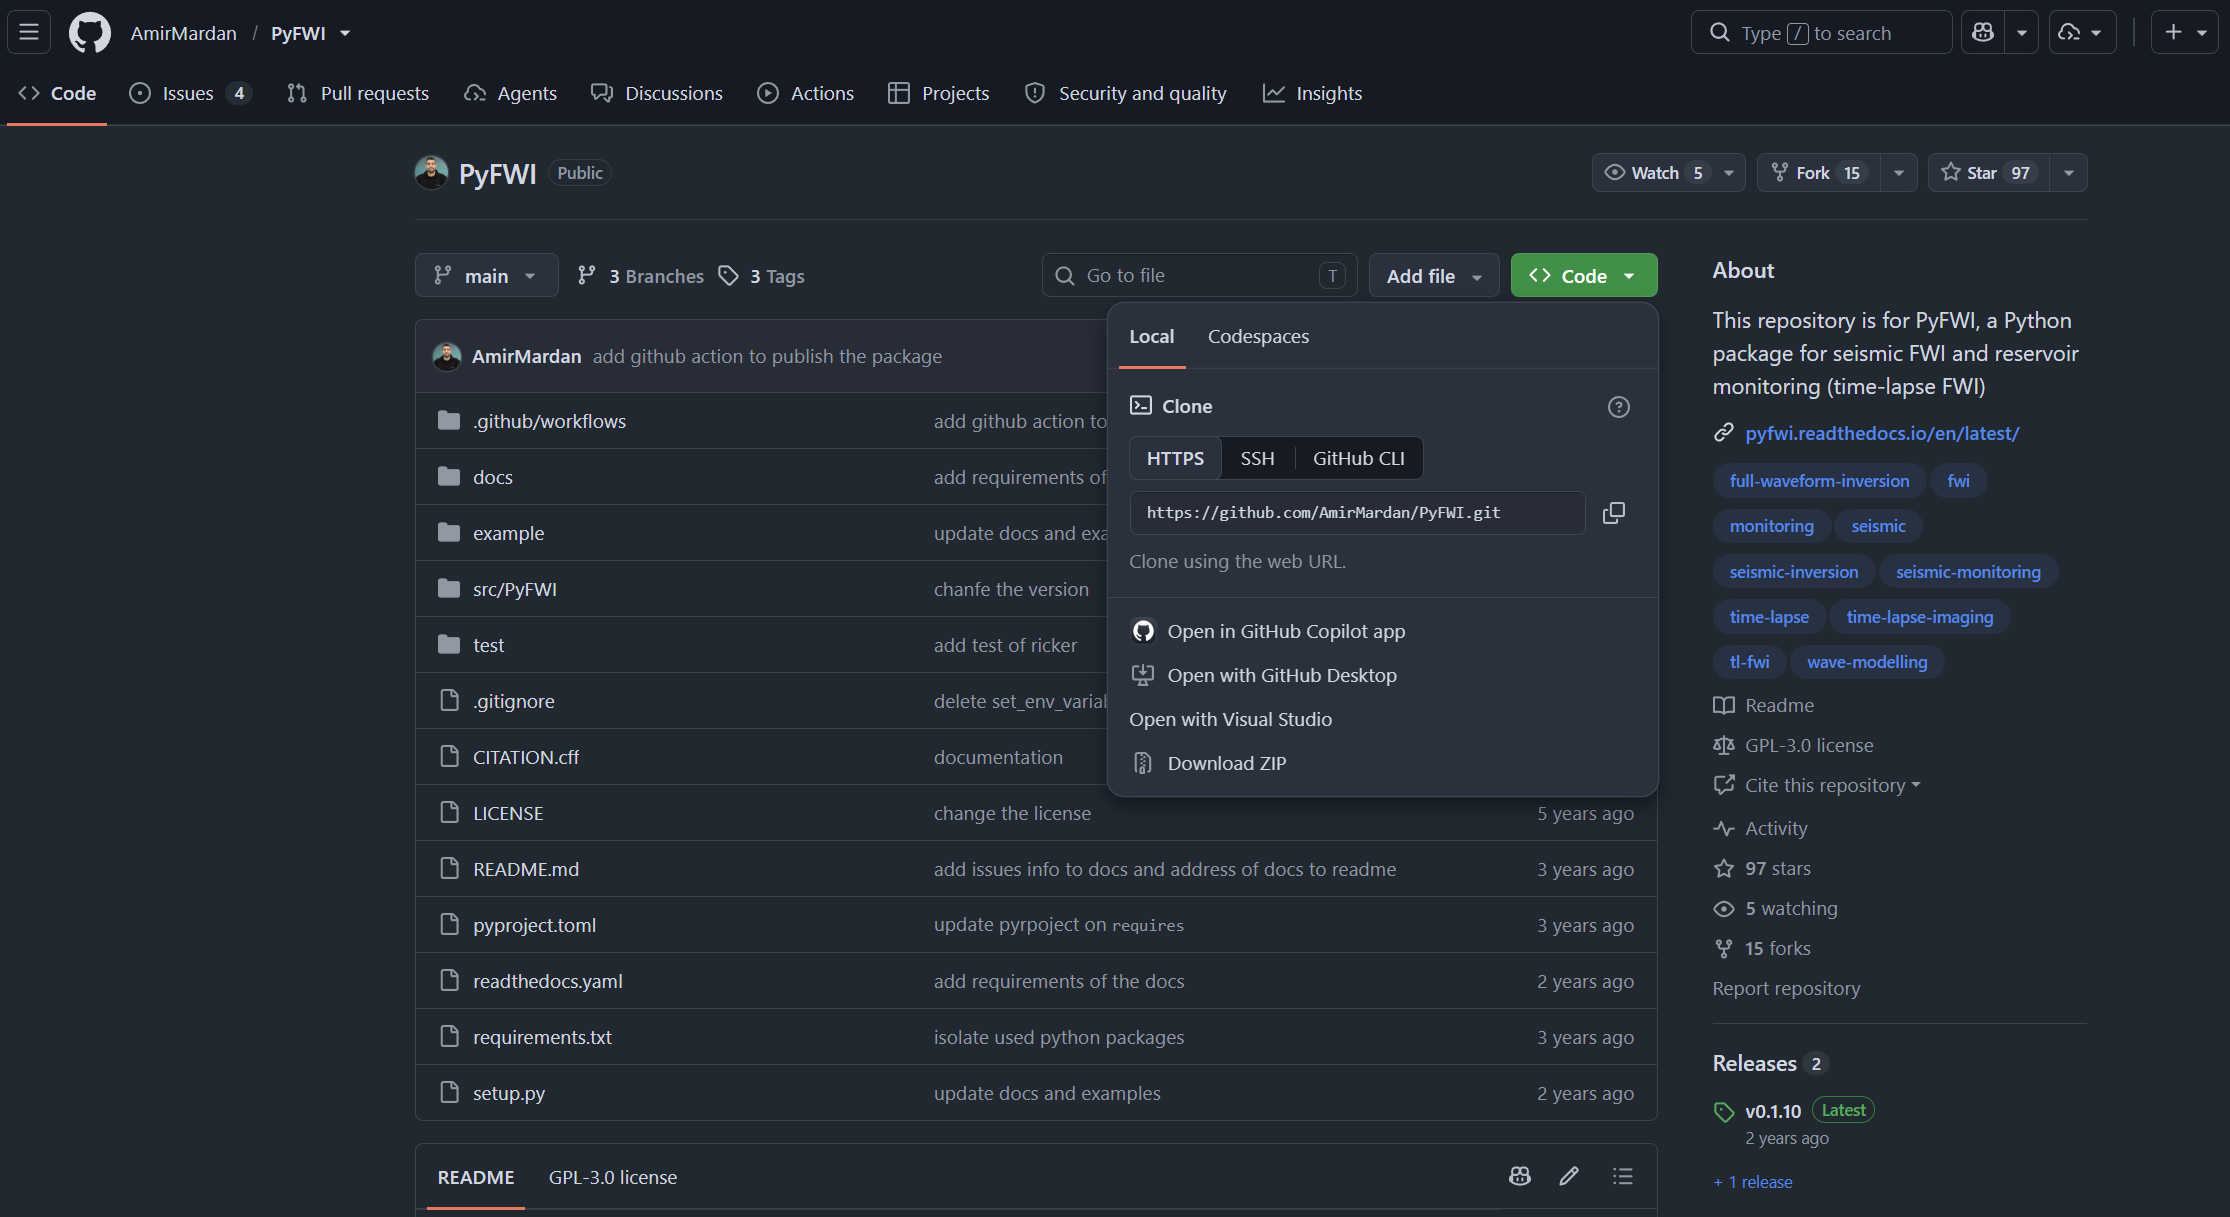
- Download ZIP: download the whole repository as an archive. Good if you only want to read the code.
-
HTTPS / SSH URL: use
git cloneto get a local copy you can update and commit to.
git clone requires Git. HTTPS is usually enough and simpler to authenticate.
Not every repository is source-only. Some projects package their code as executables and put them under Releases.
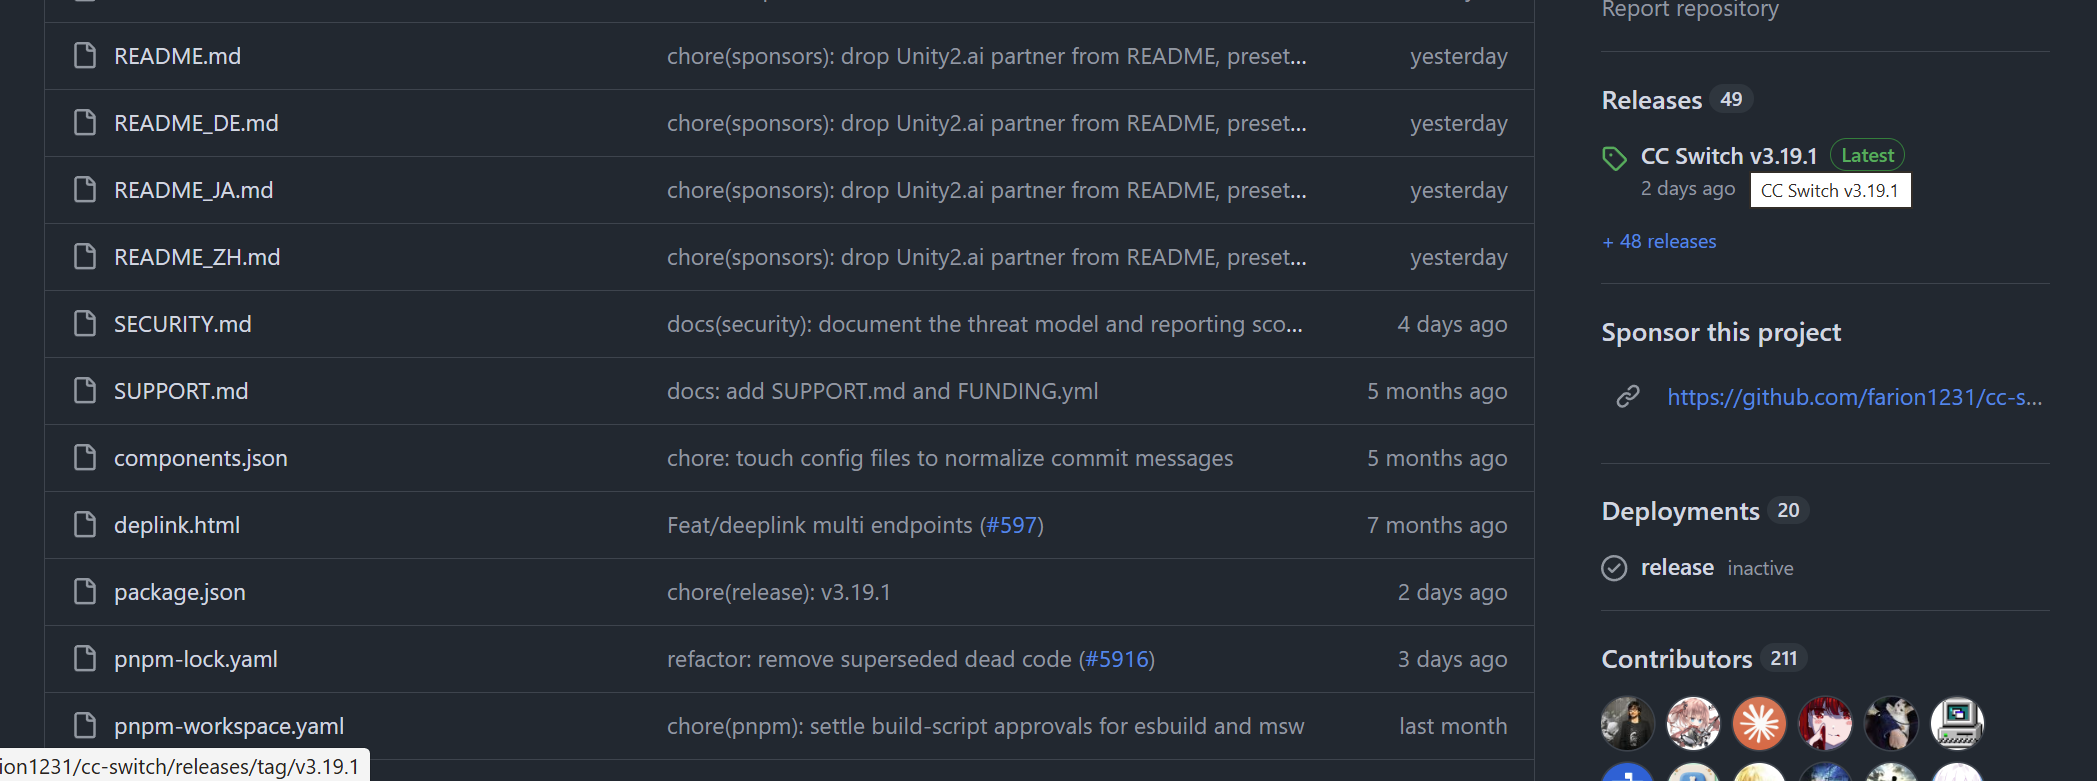
Open the latest release. The top of the page is usually the changelog; scroll to Assets at the bottom for the installers.
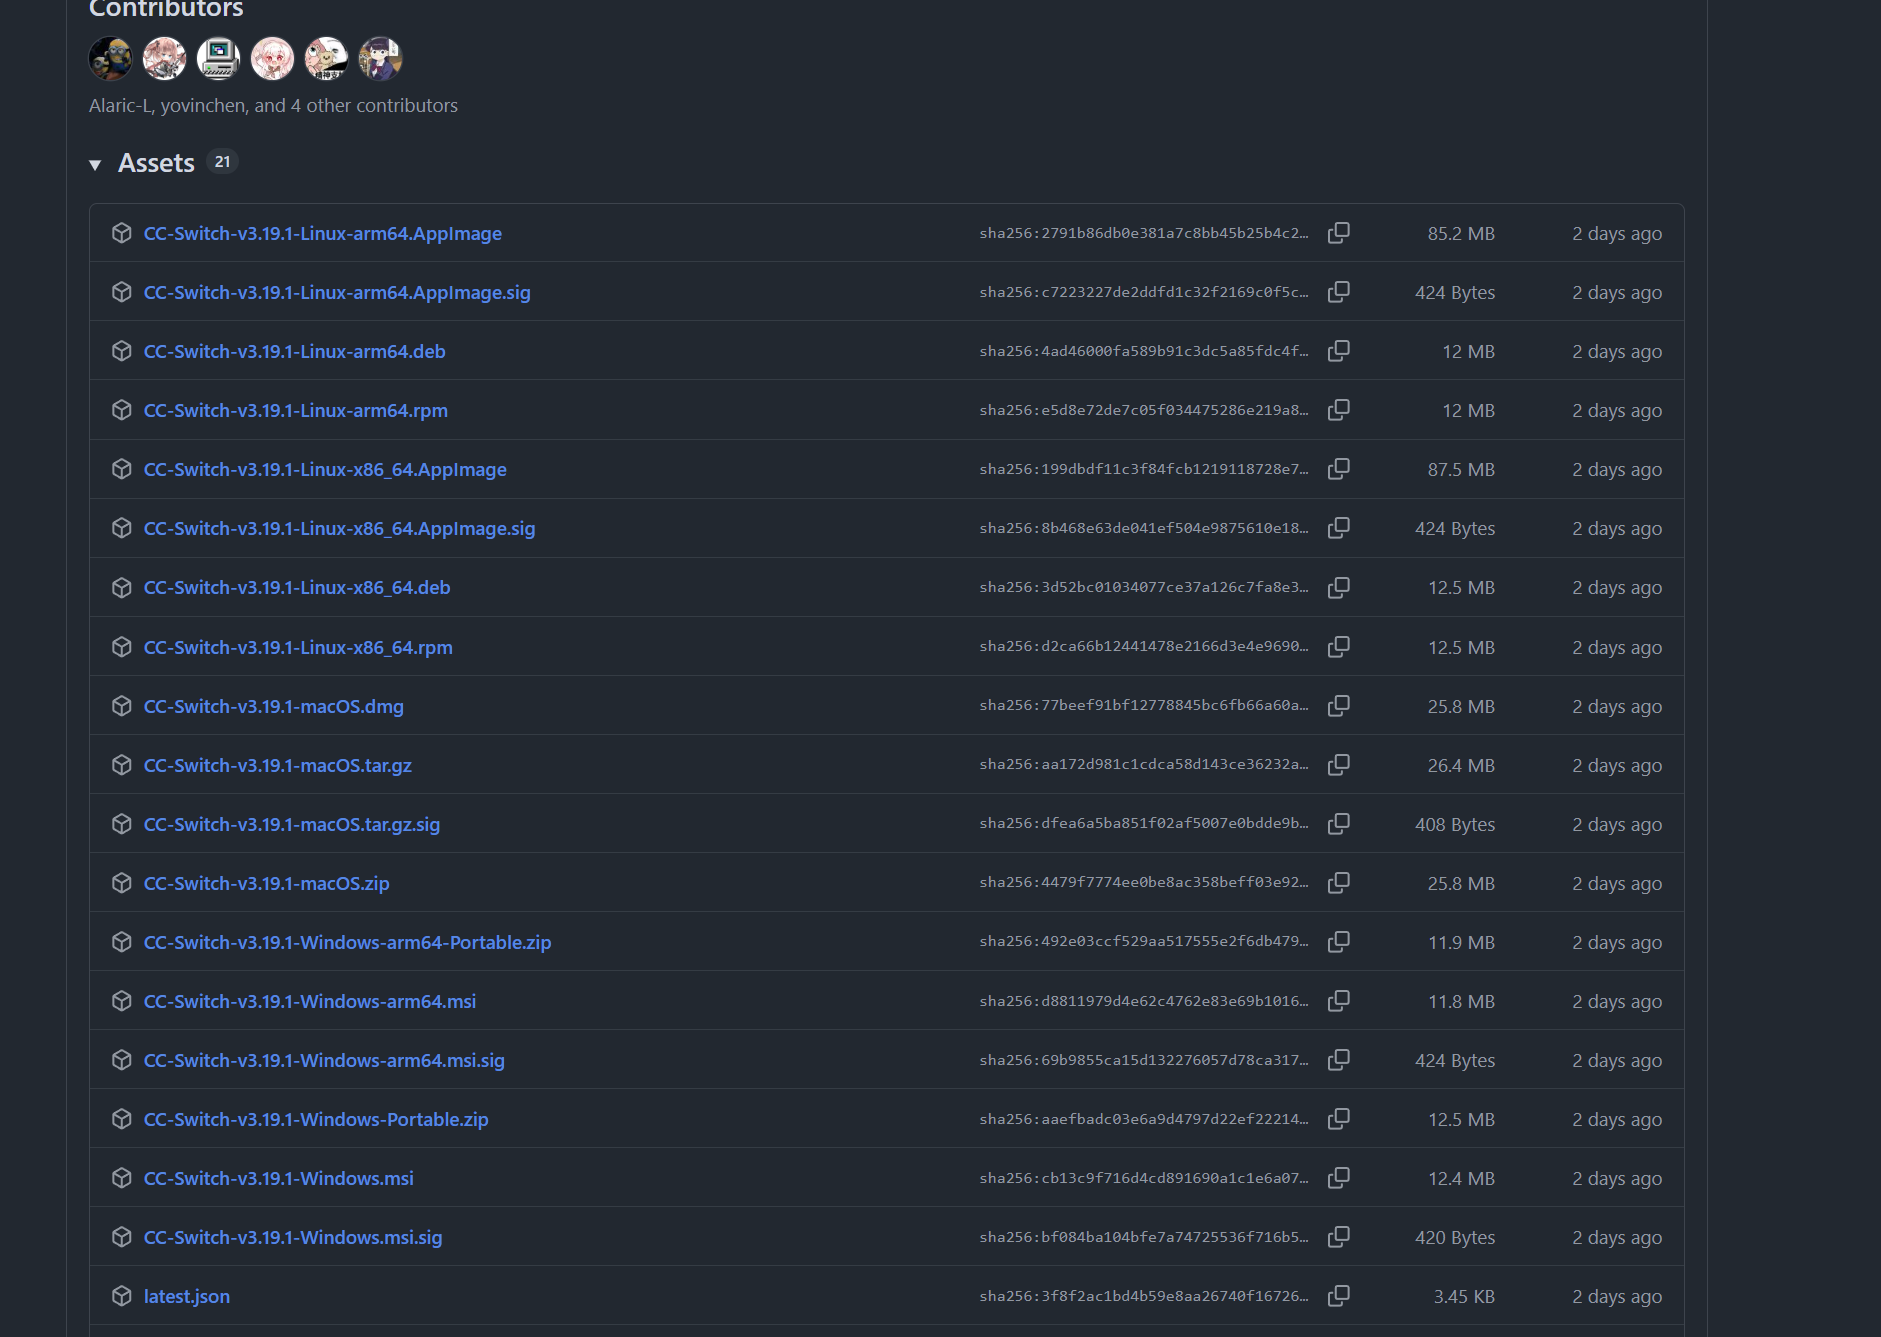
File names usually include:
- a version number, such as
v3.19; - an operating system, such as
Windows,Linux, ormacOS; - an architecture, such as
x64orarm64.
Most Windows users want the Windows x64 .msi or .exe. ARM devices, such as some thin-and-light laptops, need arm64. If you just want to use the software, download the installer, not the source.
GitHub CLI
Without GitHub CLI, an agent that wants to reference an open-source project has to wait for you to download it or scrape the page. With gh, it can search repositories, read files, clone code, create repositories, and open issues and PRs.
Install:
winget install --id GitHub.cli
Log in:
gh auth login
Choose GitHub.com, pick HTTPS, and enter the one-time code in the browser.
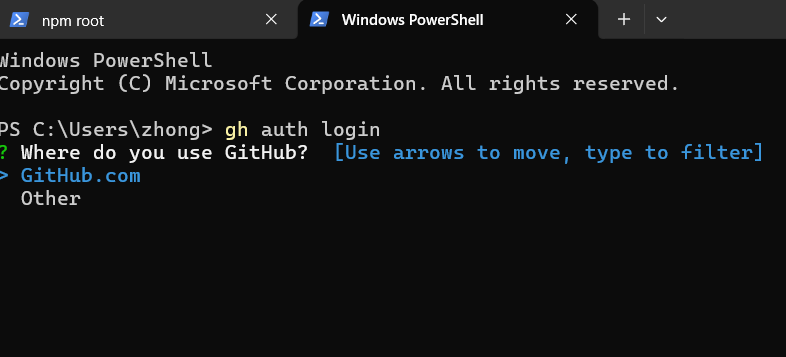
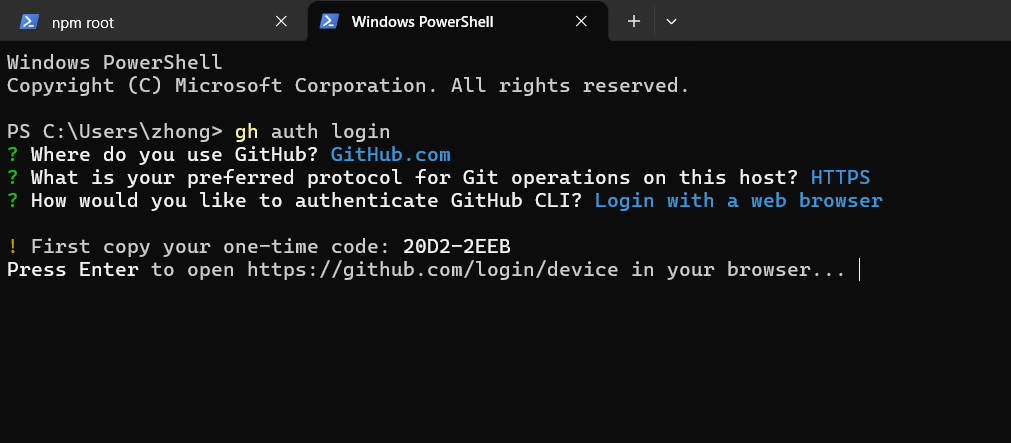
After login, the agent can use GitHub directly from the terminal.
The difference between HTTPS and SSH is authentication. SSH uses a public/private key pair and is more secure for long-term use. HTTPS is simpler and enough for personal projects.
Version control in practice
With an agent, I rarely type Git commands myself. The usual pattern is:
- let the agent create a branch for the feature;
- commit after each small step, with a message that says what changed;
- run tests and inspect the diff before merging;
- if something breaks, revert to the previous commit or discard the branch.
But “let the agent handle it” does not mean “never look.” At minimum, check which files changed, whether the commit message is accurate, and whether anything sensitive slipped in. Version control is a safety net, not autopilot.
If you use Claude Code or Codex, put a CLAUDE.md or AGENTS.md in the project with commit conventions, branch policy, and test commands. The agent reads those constraints before acting, which is more reliable than repeating them in chat.
WSL and remote development
If your work involves Linux toolchains, server deployment, or experiments that only run on Linux, install WSL:
wsl --install
Then install a distribution such as Ubuntu. VS Code can connect to WSL or a remote server: open the remote window from the lower-left corner and choose Connect to WSL or Remote-SSH. You can edit remote directories as if they were local.
The full WSL setup is in WSL2 Dev Environment Setup Notes.
Setup checklist
-
node -vandnpm -vprint versions - PowerToys opens the environment variables panel
-
git --versionworks -
gh auth statusshows you are logged in -
pwshopens PowerShell 7.x - Windows Terminal defaults to PowerShell 7
- New projects use relative paths
The environment is not the goal. Getting an agent to run reliably matters more than how many tools you installed.
Enjoy Reading This Article?
Here are some more articles you might like to read next: